
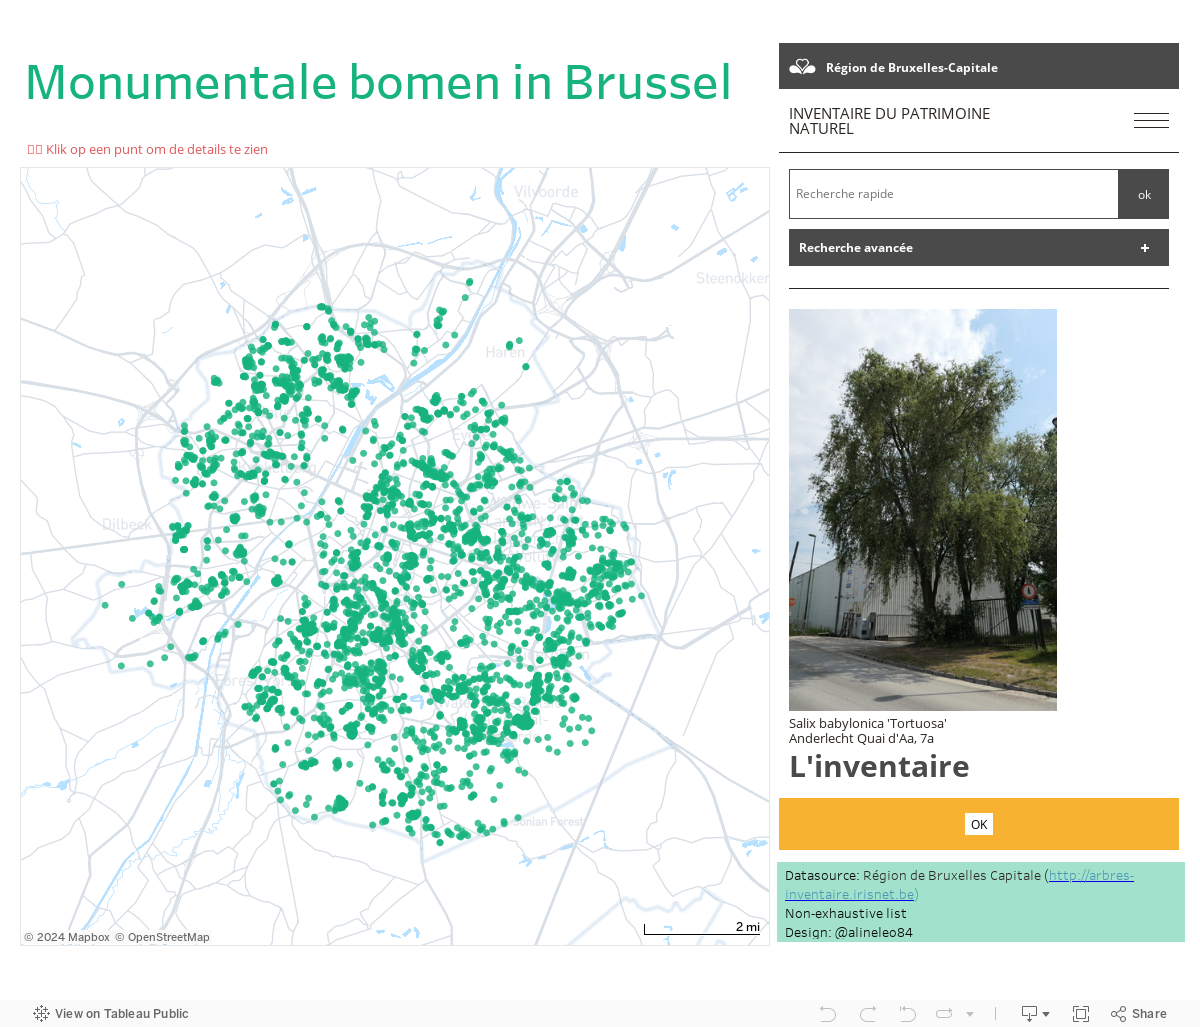
Put some spice into your Tableau dashboard by embedding a web page object into your dashboard and a URL action to hyperlink to additional web–based information on the user’s selection.
In this dashboard about trees in Brussels, you can click on a dot and an image of this tree will appear on the right. In this step-by-step tutorial, I will show you how to embed web pages into your Tableau dashboard and update the views depending on your user inputs.
A web object is a completely functional Web Browser (using Internet Explorer) which allows you to add information from the web, your company’s website or a file server.
Step 1/ Find how is setup the URL
This is the URL of the website which describes each tree:
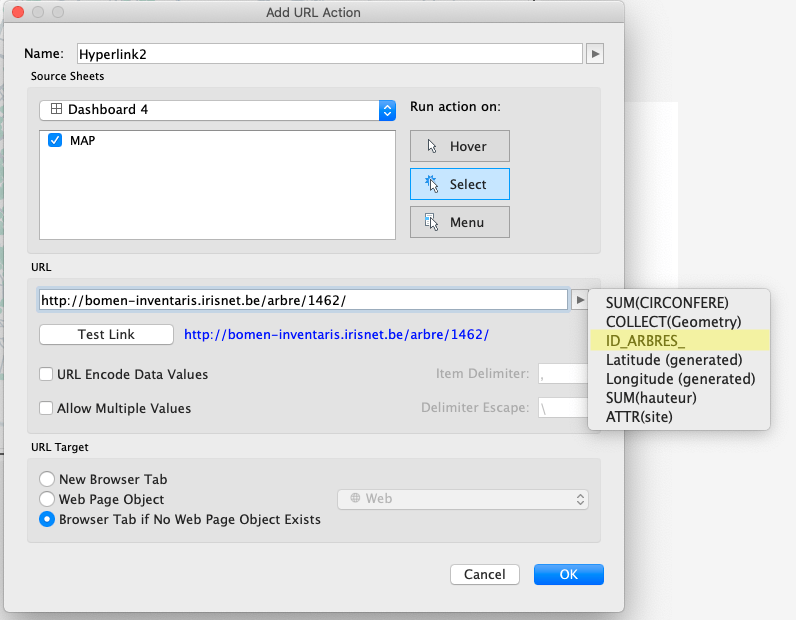
http://bomen-inventaris.irisnet.be/arbre/1462/
So to see the webpage corresponding to each tree, I need to replace the number by the ID of the tree and it will look like this in my URL action
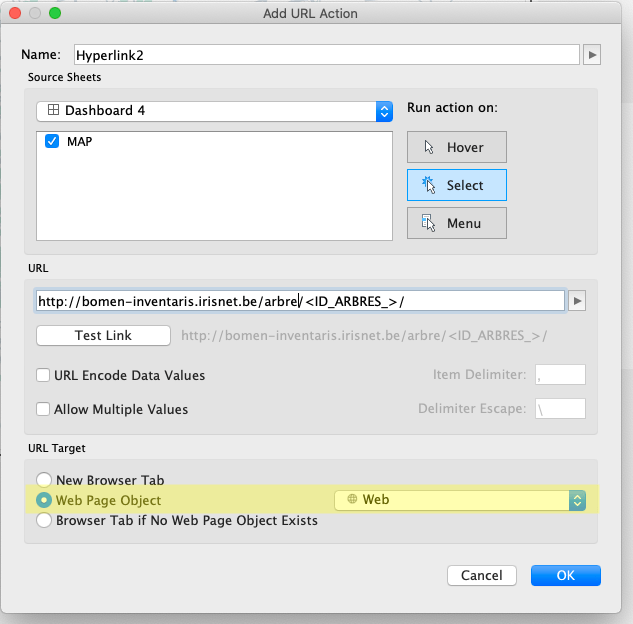
https://bomen-inventaris.irisnet.be/arbre/<ID_ARBRES>/
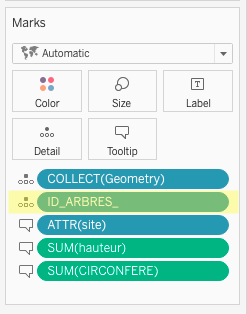
Step 2/ Add the dimension needed for the URL in the level of details of the worksheet
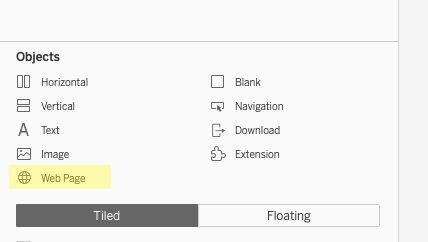
Step 3/ add a web page object in your dashboard
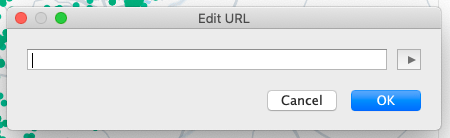
Drag a web page from the bottom left from the dashboard window. In the Edit URL dialogue you can simply leave the URL empty and click on Ok.
Step 4: Create a URL Action
On the Dashboard menu, select Actions, click on Go to URL. In the dialogue, select your sheet in the Source Sheets area, activate Select in the Run on Action area and select the field [ID_ARBRES] after clicking on the arrow right to the URL input line.
In the URL Target area, select Web Page Object and you go!
Link to original dashboard https://public.tableau.com/views/MonumentaltreesofBrussels/Dashboard2?:language=en-GB&:display_count=y&:origin=viz_share_link